
How to Make AI Product Videos From One Photo (6 Scenes)
Turn a single product photo into a scroll-stopping ad video with AI. Scene presets, platform aspect ratios, costs and fixes — the full workflow.
How to Turn One Product Photo Into an Ad Video With AI
You already have the hard part: a decent photo of your product. What you probably don't have is a video for every placement that demands one — TikTok, Reels, feed ads, your Amazon listing, your homepage hero.
Learning how to make AI product videos closes that gap in minutes instead of production days. This guide walks the entire workflow: preparing the photo, choosing the right scene, setting parameters like a media buyer, and fixing the failure modes nobody warns you about.
Everything below comes from generating real product footage — the example images you'll see are actual inputs from our production pipeline, not stock.
Here's the deal:
Chapter 1: What You Need Before You Start
One clear product photo and a defined placement — that's the entire prerequisite list. No studio, no 3D model, no footage.
What is an AI product video?
An AI product video is a short clip generated by an image-to-video model from a single product photo. The AI treats the photo as the starting frame, then synthesizes camera motion, lighting changes and environmental effects around the product — producing ad-ready footage without filming anything.
Why does this beat the old way?
A traditional product shoot runs hundreds to thousands of dollars per SKU and takes weeks. An AI generation takes under two minutes and costs a few credits. Wyzowl's annual survey reports 82% of consumers have been convinced to buy after watching a video — the demand side isn't the question. Production cost was. Now it isn't.
What you don't need
Worth spelling out, because the old assumptions die hard:
- No video footage — the photo is the footage.
- No 3D model or CAD file — motion is synthesized, not rendered.
- No editing software — clips come out ready to post.
- No prompt-writing skills to start — scene presets write the first draft for you.
But here's the kicker:
The quality ceiling is set before you ever click Generate. It's set by your photo and your scene choice — which is exactly what the next two chapters cover.
Chapter 2: Prepare the Product Photo
The input photo is 80% of the output quality. The model animates what it sees; it cannot invent detail that isn't there.

The four rules of a strong input
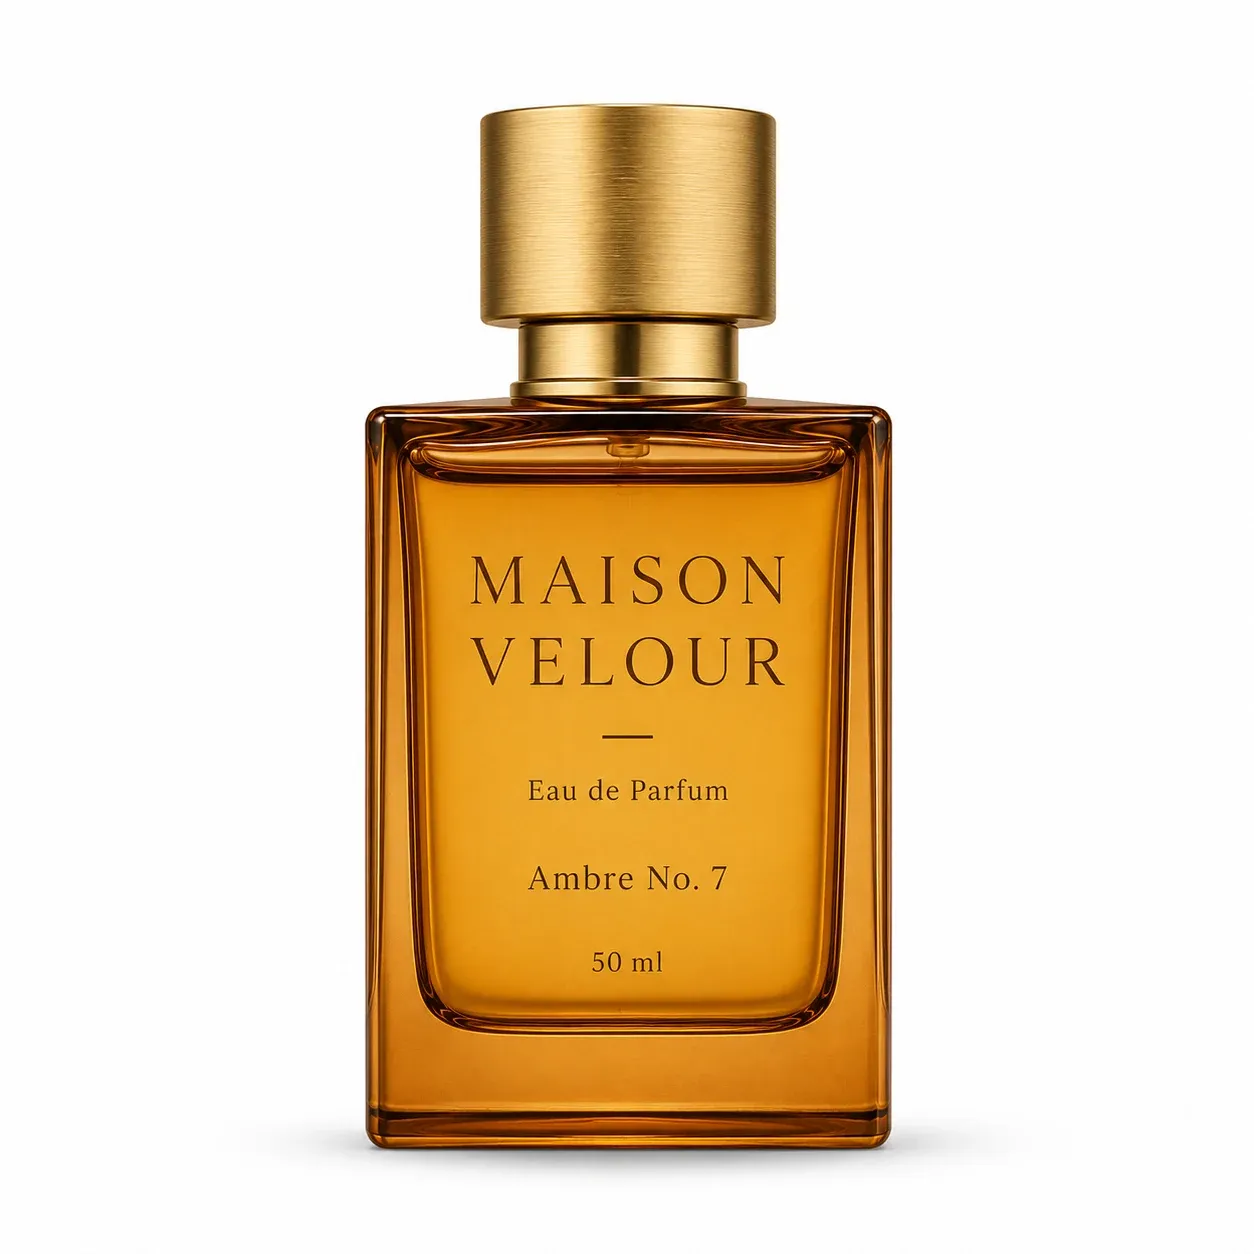
- Clean background. White or simple backgrounds give the model freedom to build a new environment. Cluttered scenes force it to animate the clutter too.
- Product fills 60–80% of the frame. Too small and details smear; edge-to-edge and the model has no room for motion.
- Even, diffused lighting. Hard shadows get interpreted as part of the product's shape.
- Resolution of 1024px+ on the short side. Upscaling a tiny photo first is worth the extra step — our AI image editor handles that in one prompt.
Here's what a strong input actually looks like — a real photo we use in production:
Two inputs that need special handling
Reflective surfaces
Mirror-finish products (chrome, glass, polished metal) are the #1 source of weird results. The AI must invent what the reflection shows as the camera "moves" — and sometimes it invents nonsense.
Fix: shoot at a slight angle with diffused light, so reflections are soft gradients instead of sharp mirror images.
Text-heavy packaging
Generative models are notorious for re-lettering text mid-motion. A label that reads "VITAMIN C SERUM" in frame one can drift into alphabet soup by frame forty.
Fix: keep label text small in frame, prefer scenes with gentle motion (showcase, slow push-in) over fast rotation, and always review the final frames before publishing.
Chapter 3: Choose the Right Scene
Match the scene to the buying context, not to what looks coolest. Each preset answers a different customer question.

Showcase — "make it look premium"
A slow spotlight push-in on a pedestal. The default for launches, hero sections and any product where perceived value is the message.
360° Spin — "let me see all of it"
A full turntable rotation, answering the customer's silent question: what does the back look like?
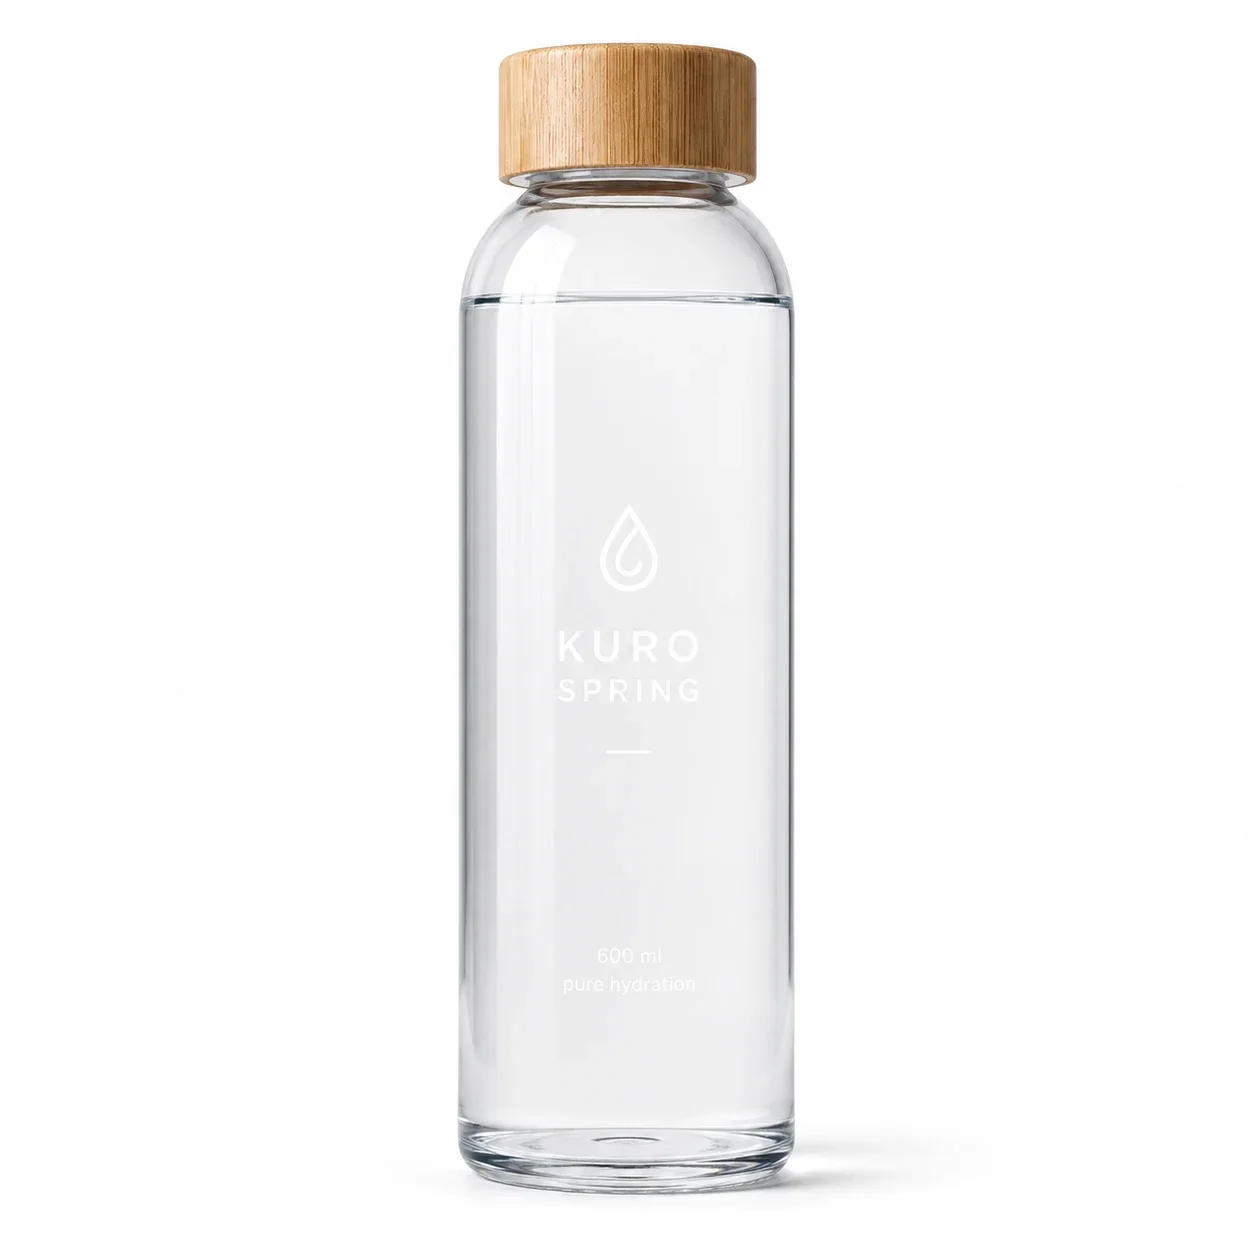
Spin scenes reward products with interesting geometry — bottles, shoes, gadgets. They're also the natural companion to the product spin effect if you want a preset that's already tuned.
Unboxing — "give me the reveal moment"
Lid lifts, tissue parts, product emerges. The highest-engagement scene for TikTok because it borrows the unboxing genre's built-in anticipation.
Lifestyle — "show it in my life"
The product in use: sneakers mid-stride, serum on a bathroom shelf at golden hour.
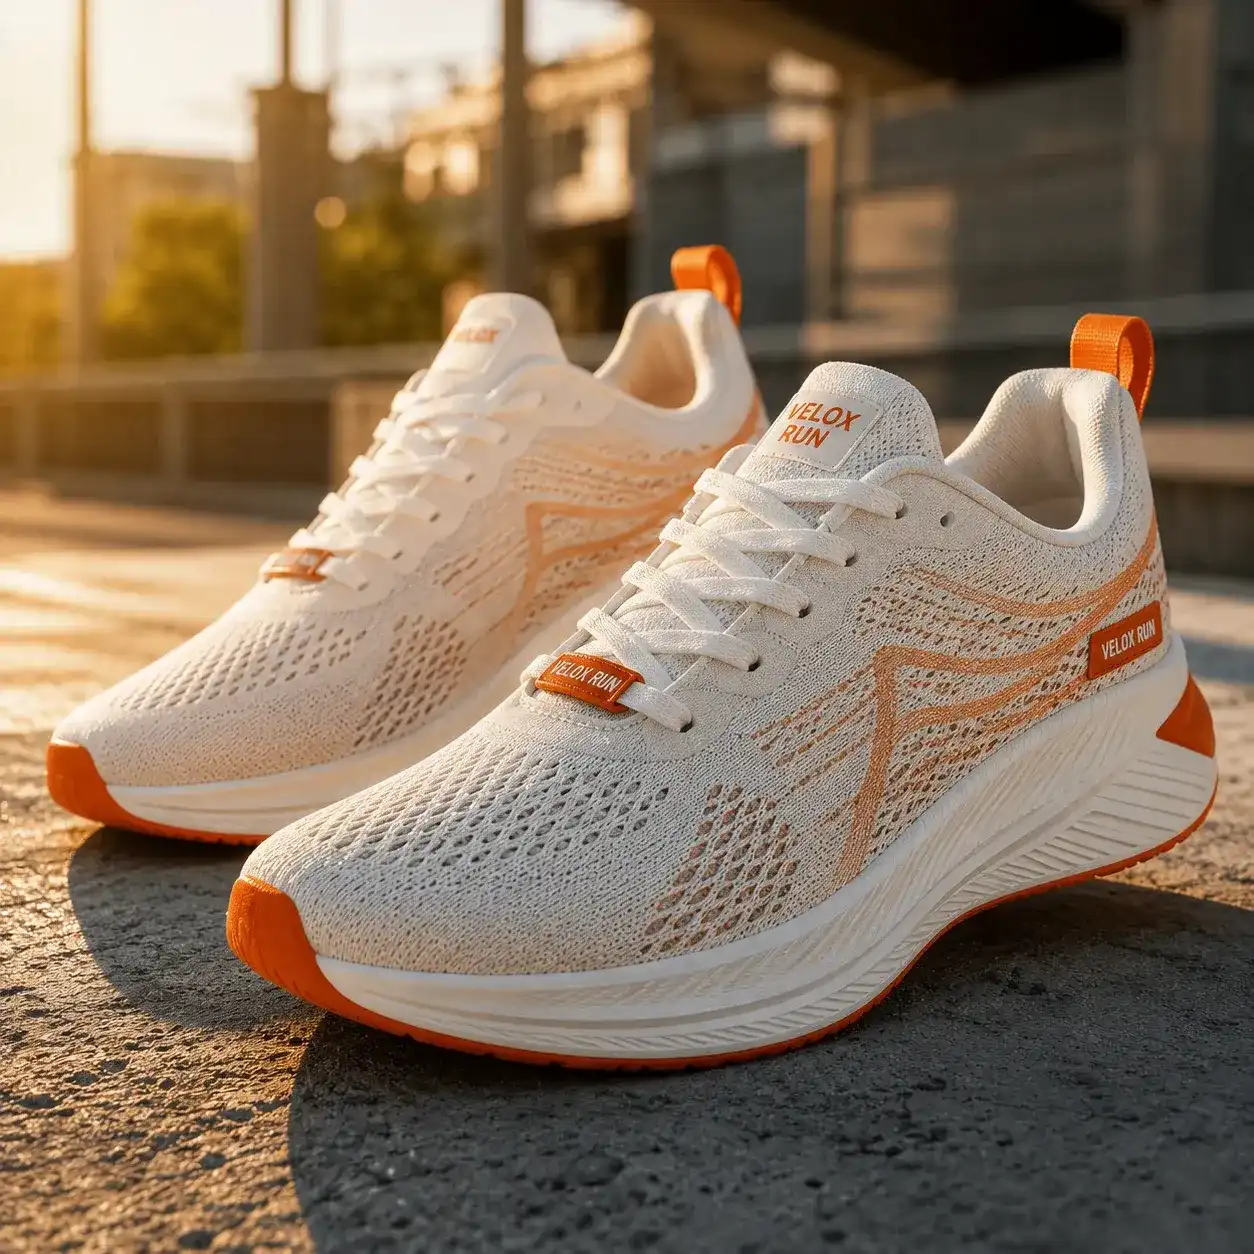
Lifestyle scenes convert best in feeds, where native-looking content outperforms studio polish.
Luxury Ad — "justify the price tag"
Dark set, dramatic rim lighting, slow motion. Use it when your margin depends on the product feeling expensive: watches, fragrance, jewelry, gifting.
Custom — "none of the above"
Write your own prompt. Presets fill the prompt box with editable text, so the fastest route is picking the closest preset and rewriting the parts that don't fit your brand.
Chapter 4: Set the Parameters Like a Media Buyer
Generate at the aspect ratio of the placement — never crop afterwards. Cropping a 16:9 into a 9:16 throws away two-thirds of the frame you paid to generate.

Aspect ratio by platform
| Placement | Ratio | Why |
|---|---|---|
| TikTok, Reels, Shorts | 9:16 | Full-screen vertical; TikTok's own spec recommends 9:16 for in-feed ads |
| Facebook/Instagram feed | 1:1 | Maximum pixel area in feed; safe fallback everywhere |
| Amazon product listing | 1:1 or 16:9 | Matches Amazon's product video guidelines |
| YouTube pre-roll, site hero | 16:9 | Room for wide sets and text overlays |
Duration: shorter than you think
Five seconds is the sweet spot for a looping ad. It's long enough for the 5-Second Ad Structure (Chapter 6) and short enough that viewers watch it twice — which platforms read as strong engagement.
Save 8–10 second generations for product pages, where viewers arrive already interested.
The two-loop test
Before publishing, watch your clip twice back to back without pausing. If the transition from last frame to first frame feels like a jolt, the loop is broken — and on autoplay platforms, every viewer experiences that jolt repeatedly. A clip that survives the two-loop test almost always outperforms a longer one that doesn't.
Quality tier: match it to the placement
- 720p — testing scenes and drafts. Iterate cheap.
- 1080p — the publishing standard for social and listings.
- 4K — hero placements and anything that will be viewed on large screens.
The practical workflow: draft at lower quality until the scene is right, then regenerate the winner at publishing quality. Check the credit price shown before each generation — on our generator it updates live as you change parameters.
Chapter 5: The Full Workflow, Step by Step
From upload to downloadable ad in five steps. Total hands-on time: about two minutes.

- Upload your photo. Open the AI product video generator and drop in the prepared image. Format, size and resolution limits are shown right on the uploader.
- Pick a scene preset. The preset fills the prompt box with editable text — adjust brand-specific wording now (e.g. "on a marble bathroom shelf" instead of "on a pedestal").
- Set ratio, duration and quality using Chapter 4's table. The credit cost updates as you change settings, so there are no surprises.
- Generate. Failed generations refund automatically, so a bad roll costs nothing but a minute.
- Download — or iterate. Good but not perfect? Regenerate with the same settings for a new take, or nudge the prompt. Keep the photo constant; change one variable at a time.
Pro tip: generate two or three takes of your winning scene. Motion is sampled fresh each run, and the best take is often the second one.
Chapter 6: The 5-Second Ad Structure
Hook, feature, settle — the three-beat skeleton behind nearly every high-performing short product ad. Build your prompt around it and the output stops looking like a screensaver and starts looking like an ad.

Beat 1 — Hook (0–1s)
Something must move in the first second: a light sweep, a fast push-in, the product dropping into frame. Scroll-through decisions happen here.
In prompt terms: "camera sweeps quickly toward…", "dramatic light reveals…".
Beat 2 — Feature (1–4s)
The middle beats belong to one detail worth staring at — texture, mechanism, material. A slow orbit or macro drift works; frantic motion doesn't.
One detail. Not three. Five seconds can't carry three.
Beat 3 — Settle (4–5s)
The product locks to center frame, motion eases out, composition goes clean. This is deliberate: it gives your CTA overlay ("Shop now") a stable, uncluttered frame — and if the final frame resembles the first, the loop becomes seamless.
The bottom line? Write your custom prompts in three beats, and even a fully automatic generation inherits an ad's rhythm.
Chapter 7: Common Failures and How to Fix Them
Every failure mode below has a boring, reliable fix. Diagnose by symptom:
The product warps during motion
Cause: the model is guessing 3D structure from one 2D photo, and complex geometry breaks the guess. Fix: switch to a gentler scene (showcase instead of 360° spin), or use a photo taken from a three-quarter angle that reveals more structure.
Label text turns to gibberish
Cause: generative models redraw text every frame. Fix: smaller text in frame, slower scenes, and review the last second of footage — drift accumulates late. For hero shots, generate a 1:1 close-up where the label stays nearly static.
The product "floats" off the surface
Cause: the photo's shadow was too faint for the model to anchor the object. Fix: re-shoot or edit the photo to include a soft contact shadow. A one-line instruction in an image editor ("add a soft natural shadow under the product") solves it.
The background steals the show
Cause: prompt described the environment more vividly than the product. Fix: trim environment adjectives; put the product clause first in the prompt.
- ❌ "A stunning cinematic marble hall with golden light, containing a watch"
- ✅ "A steel watch, centered, in a softly lit marble hall"
Chapter 8: Budgeting — How Many Videos Per Campaign
Plan for variants, not one hero video. The teams getting results from AI product video treat it like ad creative testing, because that's what it is.
A sensible starter batch for one product:
- 3 scenes (showcase + spin + lifestyle) at 1080p, 5 seconds
- 2 ratios for your top scene (9:16 and 1:1)
- 1–2 retakes of the winner
That's six to eight short generations — a fraction of one traditional studio clip's cost, and enough to learn which motion sells your product from real engagement data. Check current plans to size a monthly budget; subscription credits comfortably cover multi-product testing at this cadence.
When a scene wins, scale it across your catalog — which deserves its own chapter.
Chapter 9: From One Product to a Whole Catalog
Consistency is the difference between "some AI clips" and a brand's video system. Once a scene works, lock it in and repeat it deliberately.
Freeze the winning recipe
Write down the exact combination: scene preset, any prompt edits, aspect ratio, duration, quality tier. Apply that identical recipe to every SKU's photo.
The result reads as an intentional campaign — same lighting mood, same camera language across the whole catalog — without a single style guide meeting.
Keep the inputs consistent too
Recipe consistency only works if the photos match. Shoot or edit every product photo to the same standard: same background tone, similar framing, similar light direction.
If your existing catalog photos are inconsistent, batch-fix them first — background cleanup and shadow normalization are one-prompt edits in an AI image editor.
Name files like you'll need them later
Because you will. A naming pattern like sku-scene-ratio-take2.mp4 turns a folder of generations into a searchable ad library, and makes it obvious which variants you haven't tested yet.
Review as a set, not one by one
Line up the whole batch side by side before publishing. Outliers jump out instantly at grid view — one clip with a different color temperature, one where the product drifted off-center — and you re-roll only those.
Conclusion: One Photo Is Enough
The workflow in one line: prepare a clean photo → match scene to buying context → generate at placement ratio → structure the motion in three beats → iterate the winner.
The production barrier that kept product video exclusive to big-budget brands is gone. What's left is the interesting part — figuring out which five seconds sells your product.
Start with the photo you already have: upload it to the AI product video generator and run your first showcase scene free.
Frequently Asked Questions
Can AI make a video from one product photo?
Yes. Image-to-video models use the photo as a starting frame and generate camera motion, lighting and environment around it. One clear, well-lit photo on a clean background is enough for showcase, spin, unboxing and lifestyle-style ad clips — no additional footage or 3D model required.
What is the best aspect ratio for product video ads?
Match the placement: 9:16 for TikTok, Reels and Shorts; 1:1 for feed ads and Amazon listings; 16:9 for YouTube and website heroes. Generate at the target ratio directly rather than cropping afterwards, since cropping discards most of the generated frame.
How long should an AI product video be?
Five seconds for feed and short-form ads — long enough for a hook, one feature beat and a clean ending frame, short enough to loop. Use 8–10 seconds only for product pages, where viewers arrive with existing intent.
Why does my product look distorted in AI video?
Distortion usually means the model struggled to infer 3D shape from your photo — common with complex geometry, mirror-finish surfaces and fast rotation scenes. Switch to a gentler camera move, use a three-quarter-angle photo, and soften harsh reflections in the source image.
Do AI product videos work for every product category?
Rigid products with clear silhouettes — bottles, boxes, footwear, gadgets, jewelry — generate most reliably. Categories that need special care are mirror-finish items (soften reflections first), very small text-heavy packaging (keep motion gentle), and deformable products like apparel, which behave better in lifestyle scenes than in rotation scenes.
How much does an AI product video cost?
With credit-based tools, a 5-second 1080p clip typically costs a small number of credits, and the exact price is shown before you generate. A full testing batch for one product — three scenes, two ratios, a couple of retakes — costs a fraction of a single traditional studio clip.
Next in your workflow: polish input photos with the AI product photo generator, or go deeper on the underlying tech in our image-to-video guide.
Author

Categories
More Posts

How to Upscale an Image in Photoshop (3 Methods + Free Alt)
Step-by-step guide to upscaling images in Photoshop: Image Size with Preserve Details 2.0, Super Resolution, and Neural Filters — plus when to skip PS entirely.
Native 4K vs Upscaled AI Video: Cost & Quality Compared
Should you generate AI video in 4K or upscale it? We priced 17 models both ways: upscaling saves up to 78% on some, costs more on others.
26 AI Video Models Compared: Specs & Prices (Oct 2026)
26 AI video models on one page: max length, resolution, sound and price per second for Veo 3.1, Kling 3, Seedance 2.5, Wan 3 and more. Updated monthly.